I'd share a photo of the closet too but it's a bit of a mess at the moment. Suffice to say two lights in there makes a big difference.
Chronicling the process of building a Sienna model house with Ryan Homes and living in it.
Showing posts with label lighting. Show all posts
Sunday, August 21, 2016
Under Cabinet Lighting
Jenny and I were in Costco this weekend when we passed by an end cap display of these remote controlled LED lights and grabbed a set of them on a bit of an impulse. (They're not showing up on the Costco website but they were about $20.) Initially it was to add a light inside the closet underneath the stairs but we also placed them under the cabinets in the kitchen and were really pleased with the results. Best of all they're remote controlled and have four levels of brightness.
Tuesday, August 16, 2016
Light Sensors
After our neighborhood experienced several car break-ins and vandalism last summer I started turning on all our exterior lights at night. (Along with the front pole light that automatically comes on at night via a sensor.) The problem has been remembering to turn them off in the mornings. (And sometimes turning them on at night for that matter.) With us leaving to go on vacation for a week earlier in the summer it became even more important to find a solution to turn them on and off automatically.
After I little searching I came across these screw in sensors and bought three of them about $10 each at Lowe's. I also had to get one shorter light bulb owing to the size of the fixtures outside the front door and garage. I set them for dusk to dawn mode and after using them for a few weeks I can say they work well. The light sensors don’t seem to be very sensitive, less so than our front pole light especially when it comes to shutting off in the morning but that’s more of a minor quibble than a real complaint.
Sunday, February 21, 2016
Garage Lighting Upgrade
Last summer I replaced the basic CFL bulb in the garage with a 100w daylight LED bulb. It helped but it was still lacking compared to what I had in the garage at my old house. A few months ago my neighbor picked up a four foot LED shoplight from Sam's Club to mount above his workbench. I'd seen them before in the store before but seeing the light output in his garage sold me on it. This weekend I finally got around to buying and installing a few. The difference is absolutely amazing.
Supply list:
-Two four foot long LED shoplights (At least at my local store they're now selling a Honeywell model with a slightly higher (4500 lumens) light output.)
In the picture above I also bought longer hooks just in the case the ones that were included weren't long enough to go through drywall and "bite" enough into the stud but I didn't need them.
Installation was easy. I used a stud finder to find the studs in the ceiling, drilled pilot holes for the hooks, screwed them in and mounted the lights. I mounted one in the front and one in the rear centering them as best I could. Using the light socket adapter greatly simplified installation as instead of having to hardwire them in I just needed to plug them in. They also work with the existing light switch this way. The plugs on the lights are grounded so I needed the three prong to two prong adapters in order to plug them in. The cords aren't very long so I used one extension cord as well.
Before. (Excuse the mess. Putting up a shed to get a lot of this stuff out of the garage is next on my list for the spring.)
After. As usual, the pictures don't totally do it justice but even Jenny was impressed with the difference.
Sunday, December 27, 2015
GFCI Reset
A couple days before Christmas I was sitting on the couch one evening when I heard a loud *POP* come from the foyer near the front door. I got up and looked around but couldn’t find anything that caused it and chalked it up to the cats being dumb. About an hour later I looked outside and realized that the pole light was out along with half the Christmas lights.
As I looked around outside I couldn’t figure out why everything was out. The lights were plugged in but that didn’t explain why the pole light was out when I had just replaced the bulbs a few months ago. Then it dawned on me to check the GFCI outlet inside the house. Sure enough it had popped. Pushing in the top button to reset it fixed the problem and I didn't have any more issues with it. Central Virginia has received a lot of rain lately and I’m guessing water got into one of the light strands and caused a short which in turn tripped the GFCI.
We didn’t have these at our old house but we’ve got them everywhere water might come into contact with a power source here but they’re not on every outlet. (Bathrooms, kitchen, and garage.) In the case of the one for the power outlet on the outside front of the house the GFCI reset button is on the outlet in the foyer by the front door. In the case of one of my neighbors that had the same issue on the same night they found theirs in the garage.
So if you experience a partial loss of power check the outlet first. It might just be as simple as pushing in the button to reset it. In our case the cause seemed to be fairly straightforward and we didn't have any further issues with it. If it continues to trip however it might be wise to consult an electrician to determine the cause and fix it.
As I looked around outside I couldn’t figure out why everything was out. The lights were plugged in but that didn’t explain why the pole light was out when I had just replaced the bulbs a few months ago. Then it dawned on me to check the GFCI outlet inside the house. Sure enough it had popped. Pushing in the top button to reset it fixed the problem and I didn't have any more issues with it. Central Virginia has received a lot of rain lately and I’m guessing water got into one of the light strands and caused a short which in turn tripped the GFCI.
At least on ours if it's tripped the top button will be out slightly and a red light will appear on the left side. Pushing the top button will reset it.
We didn’t have these at our old house but we’ve got them everywhere water might come into contact with a power source here but they’re not on every outlet. (Bathrooms, kitchen, and garage.) In the case of the one for the power outlet on the outside front of the house the GFCI reset button is on the outlet in the foyer by the front door. In the case of one of my neighbors that had the same issue on the same night they found theirs in the garage.
So if you experience a partial loss of power check the outlet first. It might just be as simple as pushing in the button to reset it. In our case the cause seemed to be fairly straightforward and we didn't have any further issues with it. If it continues to trip however it might be wise to consult an electrician to determine the cause and fix it.
Wednesday, June 3, 2015
Another Round of Odds and Ends
A collection of recent things from our house.
At our old house we had crape myrtles lining two sides of our backyard. They looked really nice when they bloomed each year. With the exception of the one tree in our front yard that was included with the landscaping we were treeless but we finally fixed that recently. In the past few weeks we've added three trees to our back yard. It started off with planting a flowering cherry tree in one corner and then adding two apple trees (Winesap and Red Delicious) in the other corner. Planting anything in the yard with the amount of rocks in the dirt isn't easy. I have a mattock I bought years ago for use at the old house that's been invaluable anytime I've needed to do any sort of digging.
Over the Memorial Day weekend I built a new workbench using the 2x4 Basics Workbench Kit. My prior set up was a smaller homemade bench sitting next to another square one that had belonged to Jenny's granddad. The set up didn't work very well for me so I sold the homemade one and moved the square one to the other side of my air compressor. In their place using the aforementioned kit I built a longer bench that is already working out much better. I also went a step further and stained it using a small cheap can of cherry wood stain. Eventually I'm also going to add a frame on top to support a work light using the included shelf link pieces but haven't gotten around to it yet.
At our old house we had crape myrtles lining two sides of our backyard. They looked really nice when they bloomed each year. With the exception of the one tree in our front yard that was included with the landscaping we were treeless but we finally fixed that recently. In the past few weeks we've added three trees to our back yard. It started off with planting a flowering cherry tree in one corner and then adding two apple trees (Winesap and Red Delicious) in the other corner. Planting anything in the yard with the amount of rocks in the dirt isn't easy. I have a mattock I bought years ago for use at the old house that's been invaluable anytime I've needed to do any sort of digging.
Flowering Cherry Tree
Apple Trees
Over the Memorial Day weekend I built a new workbench using the 2x4 Basics Workbench Kit. My prior set up was a smaller homemade bench sitting next to another square one that had belonged to Jenny's granddad. The set up didn't work very well for me so I sold the homemade one and moved the square one to the other side of my air compressor. In their place using the aforementioned kit I built a longer bench that is already working out much better. I also went a step further and stained it using a small cheap can of cherry wood stain. Eventually I'm also going to add a frame on top to support a work light using the included shelf link pieces but haven't gotten around to it yet.
Also over the Memorial Day weekend I picked up a miter saw. (Side note: Lowe's will price match Amazon. I saved $20 this way.) I don't do a whole lot of woodworking but when I do it requires pulling out a folding workbench, clamps, and a circular saw along with running an extension cord to cut anything. I used the saw to build the workbench and another stand to hold my yard tools. I really wish I had bought one years ago, it so much easier and quicker to make the cuts needed. Seeing as I have a four inch long scar above my right knee from an incident with an angle grinder years ago I think my wife gets a bit nervous when I get a new power tool.
Back in April I picked up a 
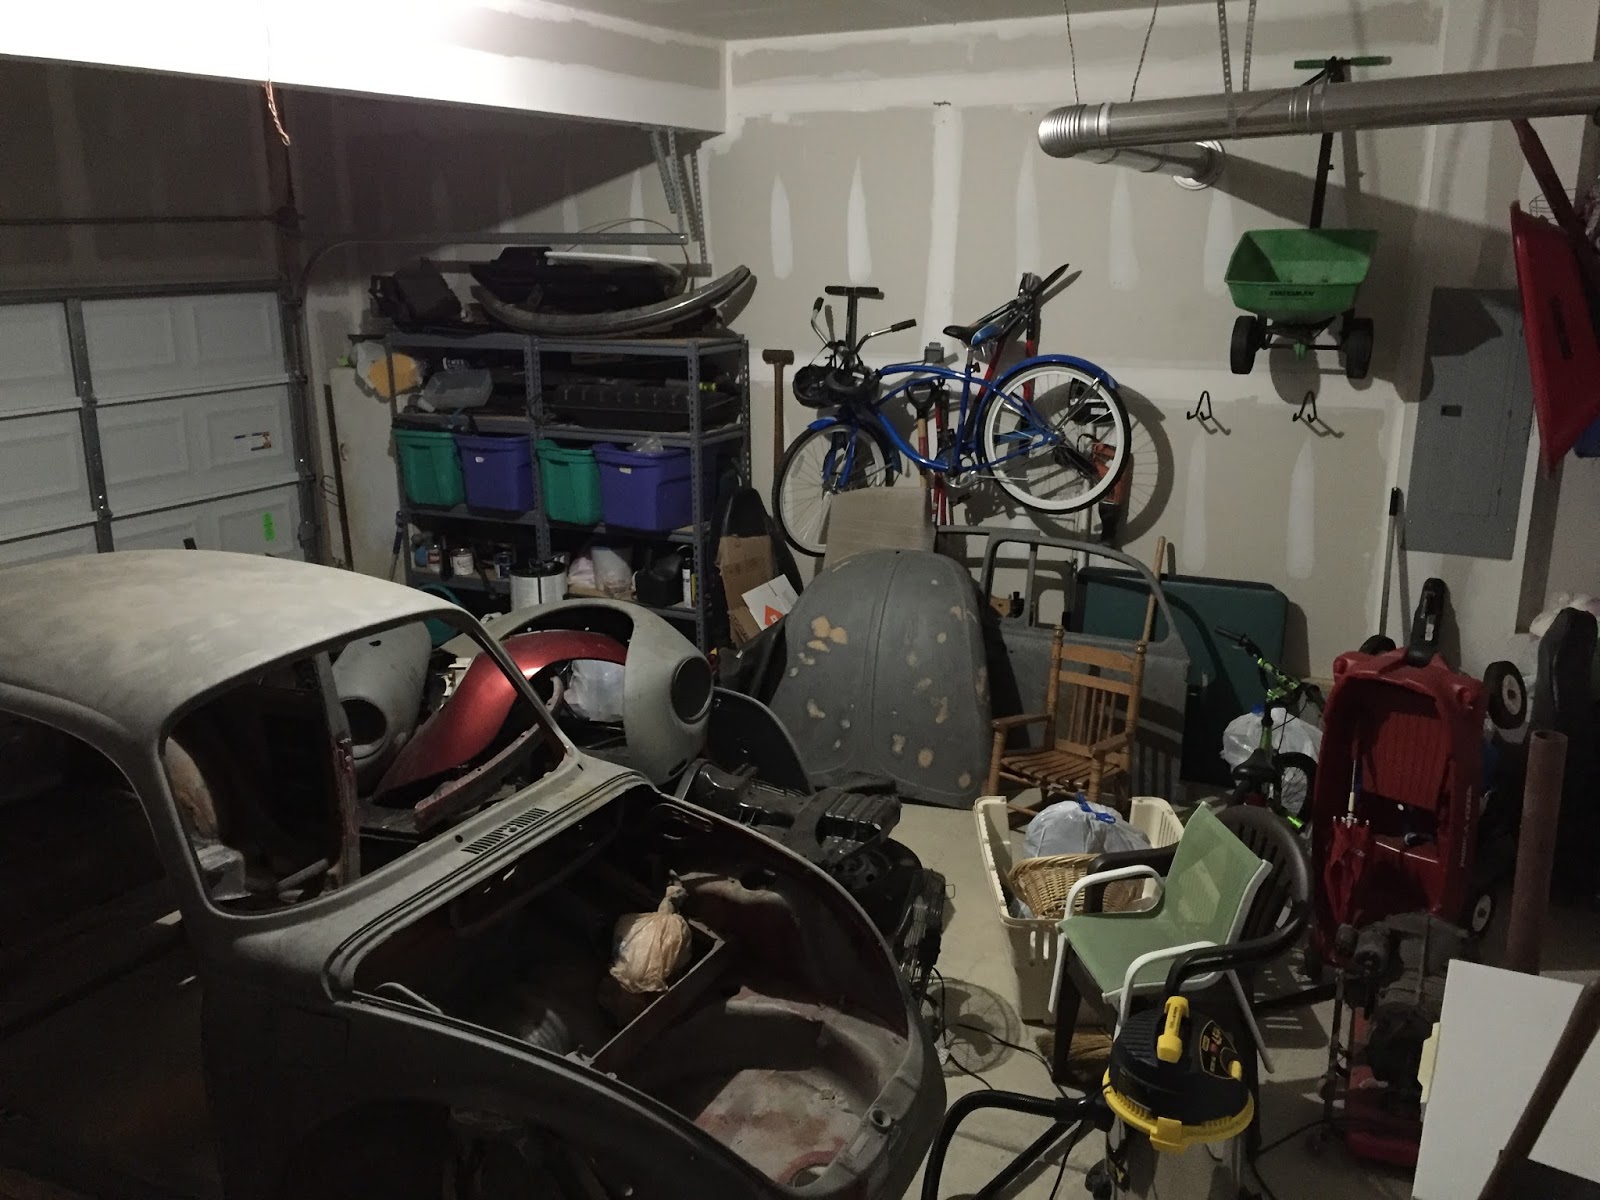
22 foot telescoping ladder when it went on sale for 35% off. I mainly needed it to reach the outside dryer vent up on the second floor to clean it and for hanging Christmas lights on the top of the house at the end of the year. I also was finally able to reach the crappy little CFL light bulb Ryan Homes puts in the garage. It didn't put out much light and also took a little while to reach full brightness. I replaced it with a 100 watt daylight LED bulb that Home Depot is selling for $10. (Best price I've seen anywhere.) It made a big difference out there. (Excuse the mess.)
Three other significant upcoming projects: staining the fence and sealing the driveway. I've been putting these off all spring and really need to get them done soon. I'm also going to be adding additional shelving in the garage above the door. We still don't have a shed yet and I've got too much stuff still sitting on the floor. (As the picture above clearly shows.)
Subscribe to:
Posts (Atom)